

Setting up and configuring a wireless router can be a daunting task, but it doesn’t have to be. I’ve been there, feeling overwhelmed by the jargon and numerous steps involved. That’s why I’ve put together this comprehensive guide to help you navigate through the process with ease. Whether you’re a tech novice or a seasoned pro, this guide will walk you through every step, providing tips and examples from my own experiences.
What You Need Before You Start
Before diving into the setup process, it’s essential to gather all the necessary components and information. Here’s what you’ll need:
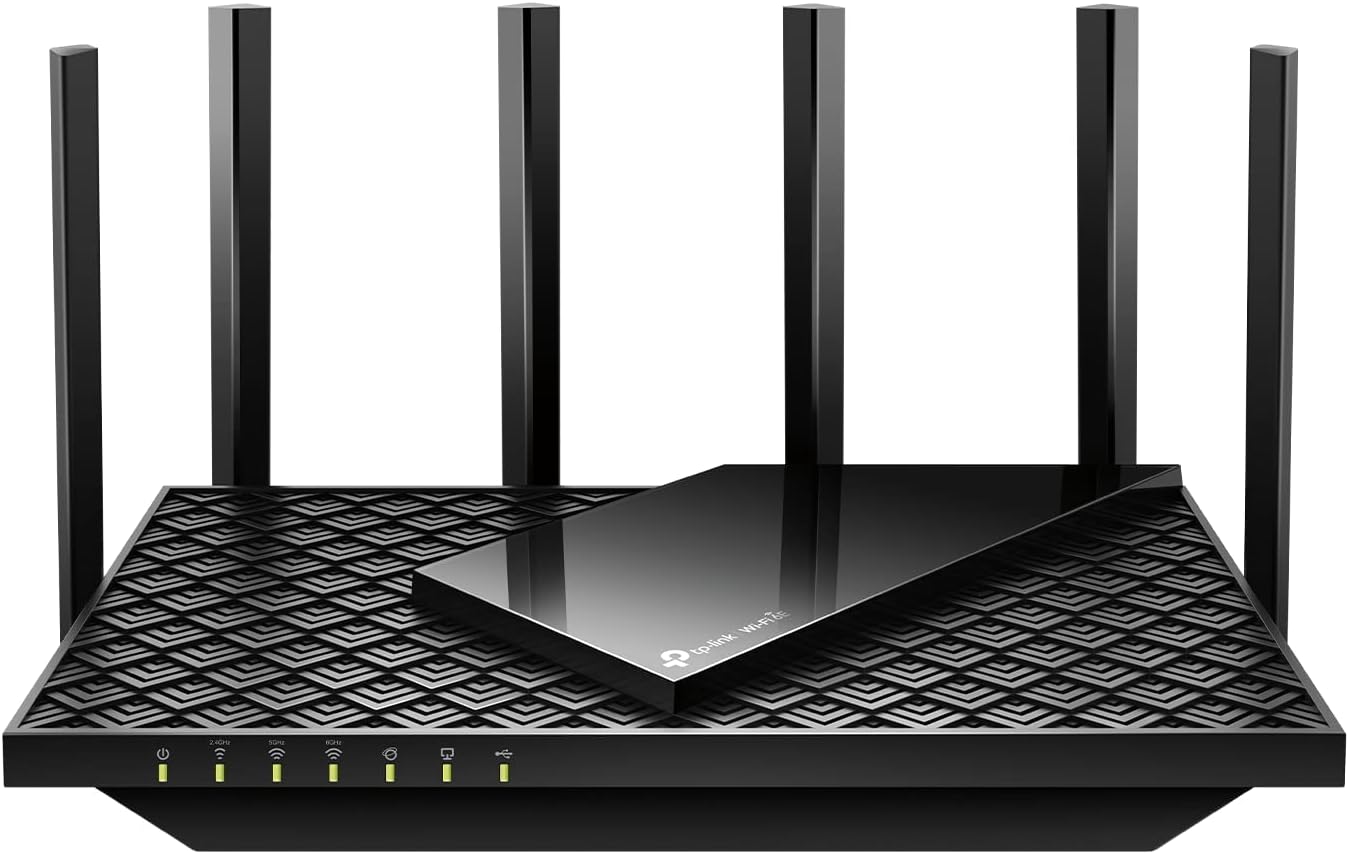
A Wireless Router
Choose a wireless router that fits your needs. If you’re unsure which one to get, consider factors like the size of your home, the number of devices, and the types of activities you’ll be doing (e.g., streaming, gaming). I opted for a dual-band router to ensure better performance for multiple devices.
A Modem
Your modem connects to your internet service provider (ISP) and provides the internet connection to your router. If you’re renting one from your ISP, ensure it’s compatible with your new router. I bought my modem to avoid rental fees.
Ethernet Cables
These cables will be used to connect your modem to your router and your router to a computer for initial setup. I always keep a few extra Ethernet cables on hand, just in case.
A Computer or Mobile Device
You’ll need a device to access the router’s settings and configure it. I prefer using a laptop for the initial setup, but a smartphone or tablet works as well.
Your ISP Information
Keep your ISP account information handy, including your username and password, as you may need it during the setup process. I keep a note of this information in a secure place to avoid any hiccups.
Unboxing and Inspecting Your Router
When you first unbox your router, take a moment to inspect all the components. You should find the router itself, a power adapter, an Ethernet cable, and an instruction manual. I like to lay everything out neatly before I start, so I know I have everything I need.
Check for Damage
Before proceeding, ensure that all components are in good condition and free from any damage. If you notice any issues, contact the manufacturer for a replacement. Once, I received a router with a damaged power adapter, and contacting support saved me a lot of frustration later on.
Connecting Your Router to the Modem
This is the first critical step in setting up your wireless router. Here’s how to do it:
Step 1: Power Off Your Modem
Before connecting your router, power off your modem to avoid any connection issues. Unplug it from the power source and wait for about a minute. I usually take this time to get everything else ready.
Step 2: Connect the Modem to the Router
Using an Ethernet cable, connect the modem to the router’s WAN (Wide Area Network) or Internet port. This port is typically distinct from the others, often colored differently or labeled.
Step 3: Power Up Your Modem and Router
Plug your modem back into the power source and wait for it to fully boot up. Once it’s ready, power up your router by connecting it to the power adapter and plugging it into an outlet. The indicator lights on the router should start blinking as it boots up.
Step 4: Connect Your Computer to the Router
Using another Ethernet cable, connect your computer to one of the LAN (Local Area Network) ports on the router. This wired connection ensures a stable setup process. I’ve found that using a wired connection during setup avoids potential issues with Wi-Fi connectivity.
Accessing the Router’s Settings
Now that your router is physically connected, it’s time to access its settings to configure your network.
Step 1: Open a Web Browser
On your connected computer, open a web browser. You can use any browser, but I usually go with Google Chrome or Firefox for their reliability.
Step 2: Enter the Router’s IP Address
In the address bar, type the router’s IP address and press Enter. The default IP address is typically something like 192.168.0.1 or 192.168.1.1. You can find this information in the router’s manual. This step always feels a bit like entering a secret code to access a hidden control panel.
Step 3: Log In to the Router
You’ll be prompted to enter a username and password. The default credentials are usually “admin” for both fields or “admin” and “password.” Refer to your router’s manual for the exact details. I recommend changing these default credentials once you log in for security reasons.
Configuring Basic Settings
Once you’re logged in, you’ll want to configure the basic settings to get your network up and running.
Setting Up Your SSID
The SSID (Service Set Identifier) is the name of your Wi-Fi network. Choose a unique and recognizable name so you can easily identify it among other networks. I like to use something memorable but not too personal.
Securing Your Network with a Password
It’s crucial to secure your network with a strong password to prevent unauthorized access. Use a combination of letters, numbers, and special characters. I always avoid using easily guessable passwords like “password123.”
Selecting the Wi-Fi Band
If you have a dual-band router, you can choose to broadcast on both the 2.4GHz and 5GHz bands. The 2.4GHz band has a longer range but can be slower due to interference, while the 5GHz band offers faster speeds but a shorter range. I usually name my 5GHz network with a “_5G” suffix to differentiate it.
Saving Your Settings
After configuring these basic settings, make sure to save your changes. Most routers will have a “Save” or “Apply” button. It’s a good practice to reboot the router after making significant changes to ensure it takes effect.
Advanced Configuration Options
Once your basic settings are in place, you might want to explore some advanced options to optimize your network further.
Enabling Guest Networks
A guest network allows visitors to access the internet without giving them access to your main network. I find this feature particularly useful when I have guests over. You can usually set up a guest network under the wireless settings section.
Setting Up Quality of Service (QoS)
Quality of Service (QoS) prioritizes certain types of traffic, ensuring that important activities like video calls or online gaming receive more bandwidth. I enabled QoS to prioritize streaming and online gaming, which made a noticeable difference in performance.
Configuring Parental Controls
If you have kids, parental controls can help you manage their internet usage by blocking specific websites or setting time limits. I use parental controls to ensure my kids aren’t online during homework time or late at night.
Setting Up a VPN
Some routers support VPN (Virtual Private Network) connections, which can enhance your online privacy and security. Setting up a VPN on your router can protect all devices on your network. I use a VPN for accessing region-restricted content and for added security.
Troubleshooting Common Issues
Even with the best setup, you might encounter some issues. Here are some common problems and how I troubleshoot them.
No Internet Connection
If your router isn’t connecting to the internet, start by checking all cable connections. Ensure your modem is properly connected to your router and that both devices are powered on. Sometimes, a simple reboot of both devices can resolve the issue.
Slow Wi-Fi Speeds
If your Wi-Fi speeds are slower than expected, consider the placement of your router. Ensure it’s in a central location, away from obstructions and interference sources like microwaves or cordless phones. You can also try changing the Wi-Fi channel to reduce interference from neighboring networks.
Intermittent Connectivity
If your connection drops intermittently, try updating your router’s firmware. Firmware updates can fix bugs and improve performance. I also recommend checking for interference from other electronic devices and ensuring your router isn’t overheating.
Forgotten Password
If you forget your router’s password, you can usually reset it to factory settings by pressing and holding the reset button on the back of the router. Be aware that this will erase all your settings, so you’ll need to set up your network again.
Keeping Your Network Secure
Maintaining the security of your network is an ongoing task. Here are some tips to keep your network safe from unauthorized access.
Regularly Update Firmware
Keep your router’s firmware up to date to protect against vulnerabilities. Most routers have an option to check for updates in the settings menu. I set a reminder every few months to check for firmware updates.
Use Strong Passwords
Use strong, unique passwords for both your Wi-Fi network and router admin access. Avoid using common words or easily guessable information. I use a password manager to generate and store complex passwords.
Disable WPS
Wi-Fi Protected Setup (WPS) is a convenient feature but can be a security risk. I recommend disabling WPS and manually configuring your devices to connect to the network.
Monitor Connected Devices
Regularly check the list of devices connected to your network. If you notice any unfamiliar devices, change your Wi-Fi password immediately. I periodically review connected devices through my router’s web interface.
Popular Wireless Router Brands and Models
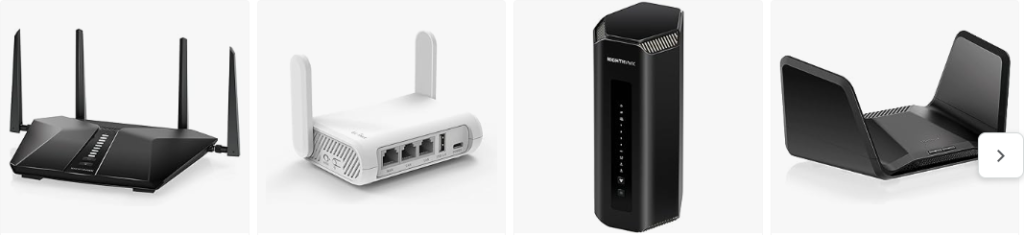
Choosing the right router can be challenging with so many options available. Here are some popular brands and models I’ve used or researched extensively.
Netgear
Netgear offers a wide range of routers for different needs and budgets. The Netgear Nighthawk series is known for its high performance and advanced features. I currently use a Netgear Nighthawk and have been very satisfied with its performance.
TP-Link
TP-Link is known for affordable, reliable routers. The TP-Link Archer series offers excellent performance at a reasonable price. I recommended the TP-Link Archer C7 to a friend, and they’ve been very happy with it.
ASUS
ASUS routers are known for their robust performance and advanced features. The ASUS RT-AC88U, for example, offers great speed and coverage. I’ve had positive experiences with ASUS networking products in the past.
Linksys
Linksys routers are user-friendly and reliable. The Linksys WRT3200ACM is a popular choice for those looking for a high-performance router with customizable firmware options. I set up a Linksys router for my parents, and it’s been very reliable.
D-Link
D-Link offers a variety of routers to suit different needs. The D-Link DIR-882 provides a good balance of performance and price. I installed this model in my office, and it has significantly improved the Wi-Fi coverage.
The Future of Wireless Routers
Wireless technology is constantly evolving, and routers are no exception. Here are some trends and advancements to watch out for.
Wi-Fi 6 (802.11ax)
Wi-Fi 6 offers faster speeds, better performance in crowded areas, and improved battery life for connected devices. As more devices support Wi-Fi 6, upgrading to a compatible router can future-proof your network. I’m excited about the potential of Wi-Fi 6 to handle the increasing number of smart devices in our homes.
Mesh Networking
Mesh networks use multiple nodes to provide seamless coverage across larger areas. Some routers can integrate with mesh systems, enhancing coverage without creating multiple networks. I’ve seen mesh networks in action, and the consistent connectivity is impressive.
AI and Machine Learning
Some modern routers incorporate AI and machine learning to optimize network performance and security automatically. These routers can learn from your usage patterns and adjust settings for optimal performance. I’m curious to see how AI will continue to enhance home networking.
Integration with Smart Home Devices
As the Internet of Things (IoT) grows, routers will increasingly support and manage a variety of smart devices. This integration will make it easier to control and monitor all your smart gadgets from a single point of view. My home is becoming a smart home, and having a router that can handle all these devices is a big plus.
Conclusion
Setting up and configuring your wireless router is a critical step in creating a reliable and secure home network. By following the steps and tips outlined in this guide, you can ensure that your network is optimized for performance and security.
I hope this guide has provided you with the information and confidence to set up and manage your wireless router effectively. Whether you’re a tech enthusiast like me or just looking to improve your home network, a good wireless router makes all the difference.
Feel free to reach out with any questions or share your own experiences with wireless routers. Happy networking!

SAMMY MWANGI the editor of Autohomegadgets.com. He is an Electronics Technician enthusiast and a Sales Manager in one of the leading ICT companies in Africa. When he is not working, he loves to travel and explore nature. He is a Robot fanatic too.


